Essential Kegerator Coupler Parts for Your Home Brew Setup
Curious why your draft beer ends up too foamy or disappointingly flat? The secret lies in the small but mighty components connecting your keg to the tap. An improper setup can strip even premium brews of their carbonation and flavor.
Installation Parts Supply understands that flawless pours begin with reliable components. No matter if you brew at home or simply enjoy draft beer, knowing these beer tap parts parts makes all the difference.
Every part—from the washers to the gas lines—matters for keeping the right pressure and taste. More than nine out of ten pour problems stem from mismatched or worn parts. With a bit of know-how, you can keep your setup working without a hitch.
Main Points
- Proper coupler selection ensures optimal beer flow and flavor.
- Installation Parts Supply provides reliable plumbing solutions for draft systems.
- Regular maintenance prevents common pouring problems.
- Different beer types may require specific coupler styles.
- The majority of malfunctions start with coupler problems.
Define the Kegerator Coupler
The perfect draft beer starts with the right connection between your keg and tap. A keg coupler bridges your CO₂ cylinder or nitrogen tank to the beer line, using compressed gas to push liquid smoothly to your taps. It’s the heart of your draft beer system: no coupler, no flow.
That tiny gadget serves a dual purpose: gas delivery to pressurize and valve control to pour your beer. Its interior consists of a probe, a check valve, and distinct ports for beer and gas. Each part ensures your brew stays carbonated and pours without foam.
| Component | Function | Frequent Problems |
|---|---|---|
| Coupler Probe | Pierces the keg’s cap | Leaks if not aligned properly |
| Return Valve | Prevents backflow | Flat pours from worn seals |
| Gas and Beer Ports | Links to tubing | Foaming from loose connections |
Attaching the coupler wrong is a rookie mistake—75% of first-time users do it. End results include overflow foam, drips, or wasted brew. Installation Parts Supply supplies charts and video tutorials to guide you.
Though many couplers look alike, you must pair the correct one with your keg. The incorrect coupler not only spoils the beer, it can wreck your setup.
Which Keg Coupler Is Right for You?
Kegs come in many styles and each needs its matching coupler. Using the proper coupler keeps your beer fizzy and flavorful. Follow this guide to choose the right one.
D-Type Coupler (Sankey)
Most North American brews—about 85%—use this style. The one-valve mechanism snaps firmly into place. Quick hint: Find the “Sankey” imprint on it.
U-Type Coupler
Stamped with a harp mark, it’s essential for nitro-charged stouts. It uses a unique gas blend (75% nitrogen) to create that creamy head. A U coupler will not seat on a D-type keg—don’t attempt it.
S System (European Sankey) Coupler
Heineken and other European imports need this reverse-thread version. The left-hand twist prevents mix-ups with D Systems. Trivia: It stands a bit taller than the North American model.
A, G, and M System Couplers
German and UK beers demand specialized connectors:
- A System: Fits Paulaner and Warsteiner kegs perfectly. Its sliding latch design is fail-safe.
- G-Type Coupler: Fits Bass and Boddingtons with its tri-flat stem. A pub staple across the UK.
- M System: Locks onto Schneider Weisse kegs. Its click-lock ensures it’s seated.
Installation Parts Supply color-codes their compatibility guides—green for D, black for U, blue for S. A brewery in the Midwest reclaimed $3,000 a year after matching couplers properly. Always favor exact compatibility over “universal” marketing.
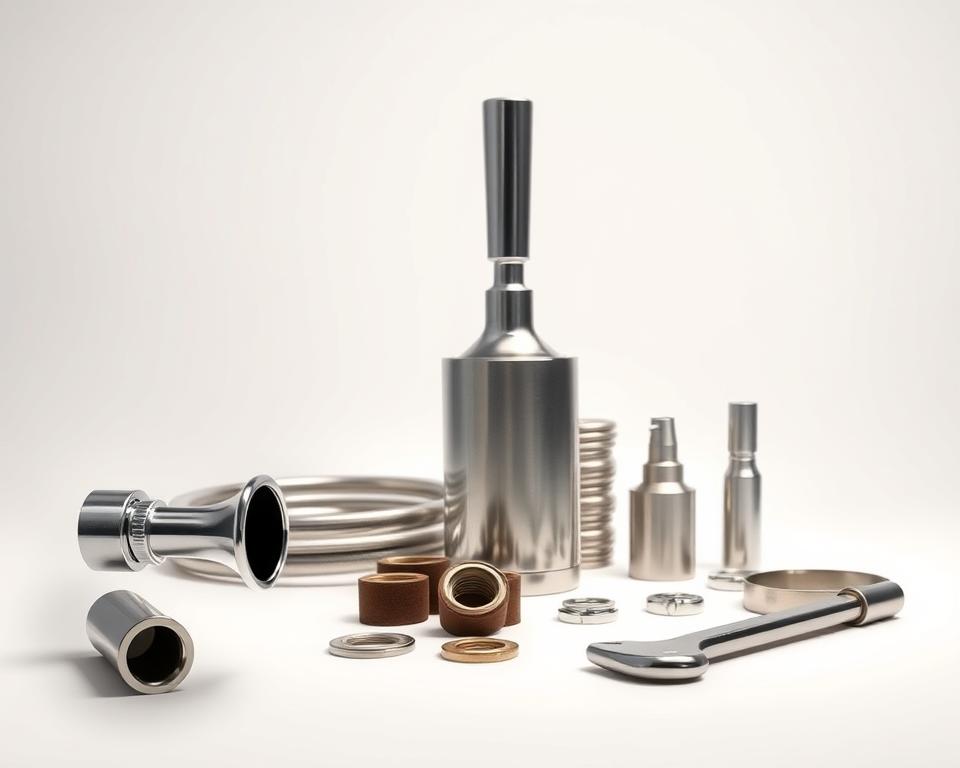
Coupler Parts Breakdown
Behind every smooth pour lies a set of precision-engineered components. Each component helps maintain carbonation and flow. Here’s a look at the parts that matter most.
Probe and Check Valve
A stainless probe punctures the seal to regulate flow. High-end probes outlast budget ones by threefold. Below it, the check valve blocks backflow—Installation Parts Supply’s most-replaced part.
Hex Nut and Washers
Everything tightens up around the hex nut. Choose brass for cost, steel for longevity. Nitrile outperforms EPDM under 40°F.
| Part | Construction | Advantage |
|---|---|---|
| Coupler Probe | Stainless Steel | Resists wear |
| Check Valve | FDA-approved plastic | Stops foam issues |
| Hex Nut | Brass/Stainless | Balances cost/durability |
Gas and Liquid Ports
The gas port handles 20–30 PSI for CO₂ or nitrogen. Wrong PSI leads to foam. Liquid ports work best with 3/16″ ID tubing—1/4″ lines increase turbulence. Keep a rebuild kit on hand for quick fixes.
Pro Tip: Swap O-rings every 6 months or 50 kegs. A few dollars in washers beats hundreds in repairs.
Coupler Installation Guide
Getting your draft system right means perfect pours every time. Correct hookups avoid pouring issues. Follow these steps to connect everything smoothly.
Attaching Coupler to Keg
Open the handle, fit lugs into place. Twist until firm; don’t over-torque or harm the seal. Low-profile designs reduce height by 4–5 inches for tight spaces.
Installation Parts Supply’s torque wrench ensures hex nuts are secured at 8–10 ft-lbs. A misaligned probe causes 80% of leaks. Always use fresh washers to maintain pressure.
Line Connections
Connect the gas hose to the coupler’s port using 5/16″ MFL fittings. Apply thread sealant to prevent CO₂ leaks. For beer lines, 10–12 feet of 3/16″ tubing balances pressure drop.
| Step | Equipment | Tip |
|---|---|---|
| CO₂ Line | Pipe dope | Test at 30 PSI for bubbles |
| Draft Line | Tubing cutter | Cut straight for proper seals |
| Leak Test | Soapy water | Monitor for a full day |
Modern rigs offer app-based pressure feedback. Our quick-connects helped a Denver bar slash foam by forty percent. Turn off gas immediately if you spot big leaks.
Troubleshooting Common Coupler Issues
Nothing ruins a cold beer faster than foam spraying everywhere. Most pouring problems stem from simple fixes once you know where to look. Let’s tackle the frequent headaches and their solutions.
Leaks and Foamy Beer
Foam is blamed in nearly 70% of draft problems. Ensure your temp hovers around 38°F to control foam. Warm beer releases CO₂ prematurely.
Next, inspect your beer line connections. Soap and water will bubble up where gas is escaping. Tighten any loose fittings with a wrench, but don’t over-tighten.
- Ball Check Valve may hiss and interrupt flow
- Not sure on PSI? Use this guide:
| Style | CO₂ PSI | N₂ Ratio |
|---|---|---|
| Pilsners | 10–12 | N/A |
| Nitro Stouts | 25–30 | 75% nitrogen |
Coupler Not Fitting Securely
If your coupler fits loosely, first check for worn O-rings. Installation Parts Supply reports this fixes 40% of attachment issues. Bent coupler heads sometimes require new units.
For uneven surfaces, try keg shims. A few dollars in shims cures tilt issues. Low-profile models solve clearance problems in compact coolers.
Pro Tip: Keep a five-seal washer kit on hand for emergencies. One Chicago pub trimmed loss by 18% with staff training.
Remember—frost on your CO₂ tank signals overuse. Defrost before tweaking the relief valve. Recalibrate digital gauges every year.
Maintenance for Your Coupler
A clean draft system means crisp, fresh-tasting beer every pour. Over time, residue builds up, affecting flavor and dispensing performance. A quick cleaning regimen prevents issues.
Taking Apart & Soaking
Start by taking apart the coupler. Remove the handle, probe, and check valve. Soak everything in a PBW bath (1 oz per gallon) for about 15–20 minutes. It dissolves yeast and hop deposits.
Use our brush kit to clean narrow passages. Pay extra attention to the ball valve—it’s a common hiding place for gunk. Rinse thoroughly to avoid soapy aftertastes.
Cleaning Products
PBW leads the pack for balanced cleaning. Acidic solutions are efficient yet rough on rubber. Sound-wave cleaners strip away stubborn grime.
- Drying: Remove moisture with air or cloth.
- Disinfecting: Adhere to CFR 117—30-second dwell time.
- Record-Keeping: Use a log sheet to record each cleaning.
Ultraviolet systems help sterilize parts. Always neutralize wastewater—PBW is alkaline and harms pipes. Routine cleaning maximizes lifespan and taste.
Final Thoughts
Achieve brewery-quality pours with expert hardware know-how. Correct parts, clean routine, and proper install equals perfect pints. Installation Parts Supply backs you with expert help and discount rebuild kits.
Did you know? Routine care can extend your equipment’s life by 7 years. Get their checklist and attend a brewmaster session for insider advice. A quick annual inspection ensures trouble-free operation—just ask their 5-year satisfied customers.
Time to level up: head to Installation Parts Supply and improve your home bar.